


 Digital Downloads
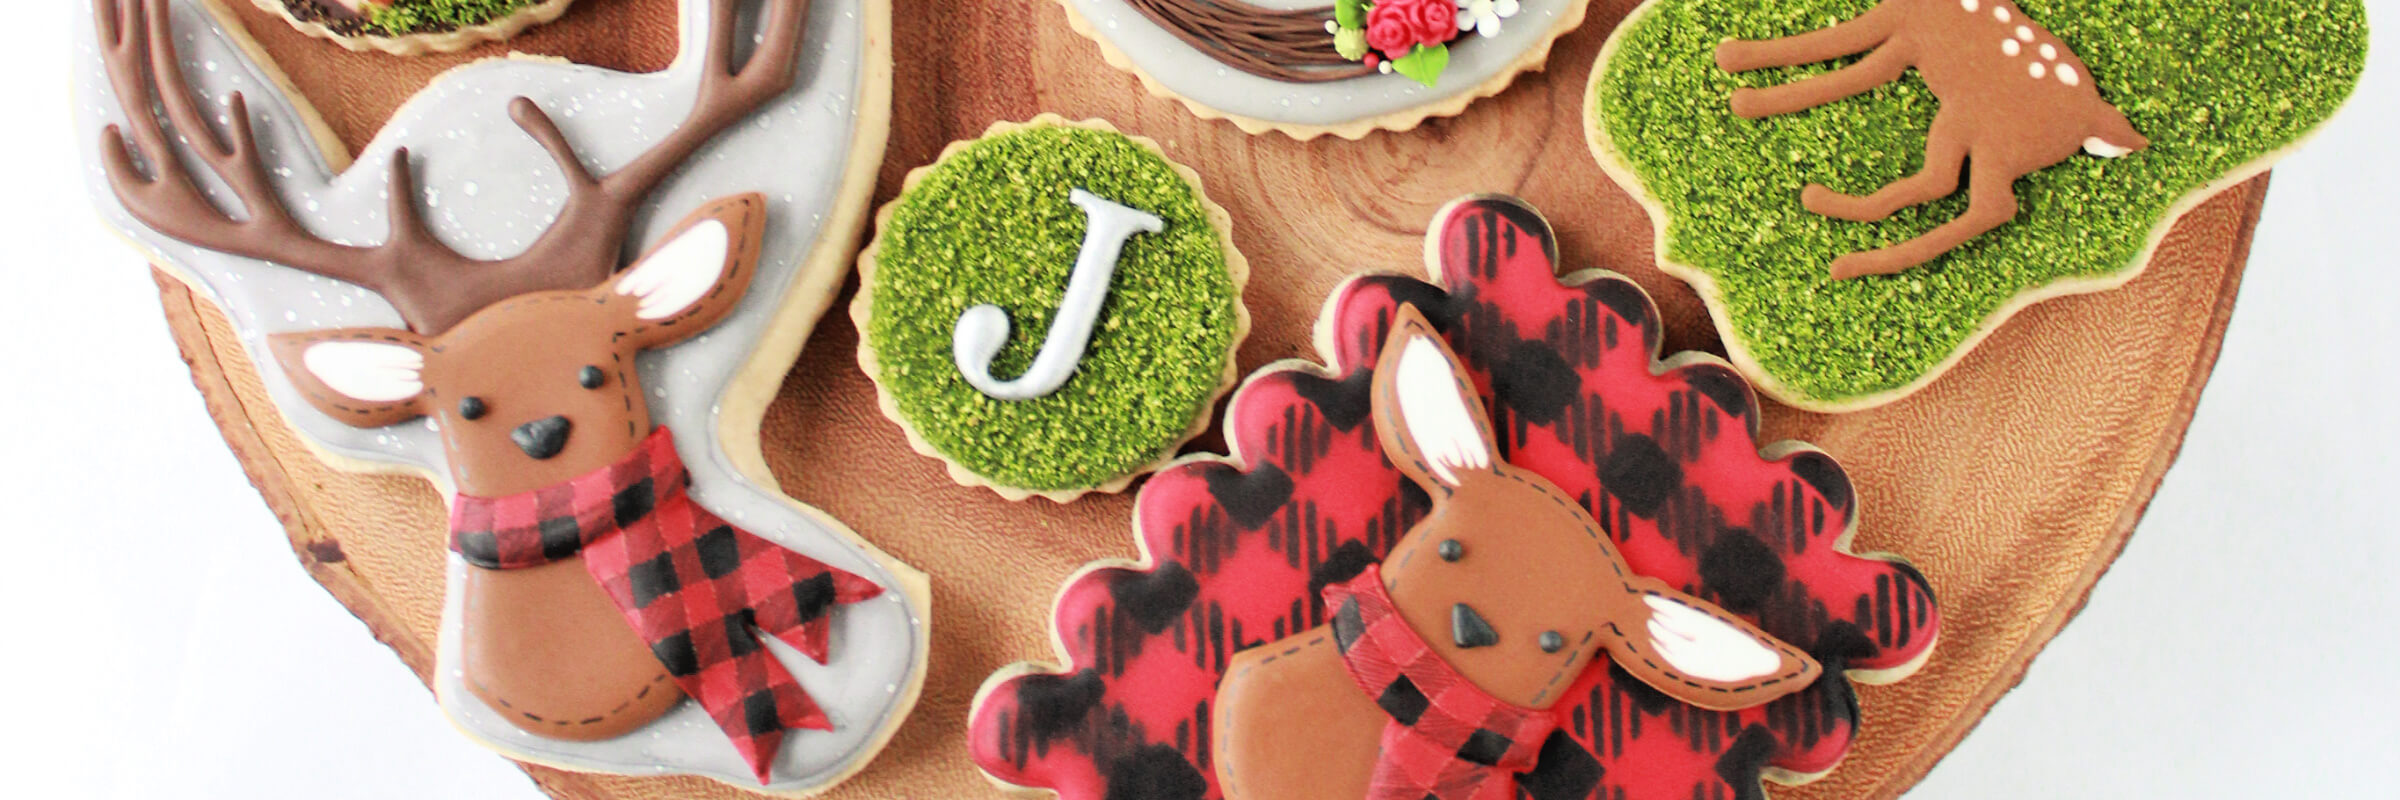
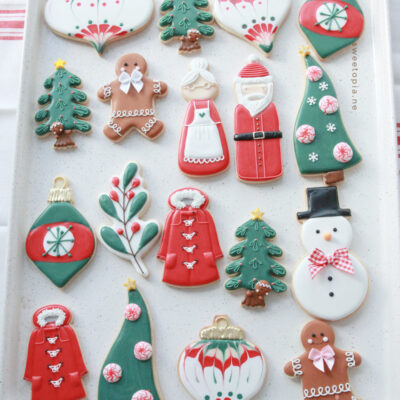
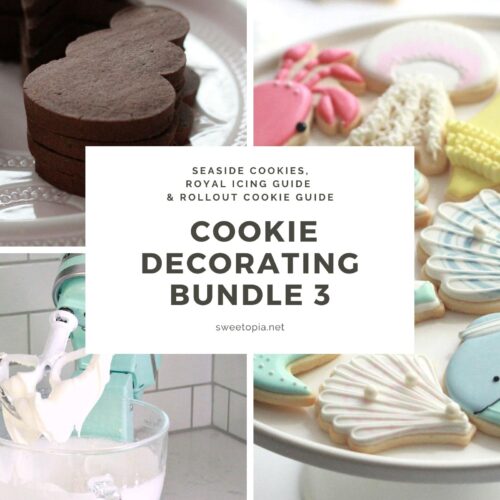
Are you looking to learn how to decorate cookies, but don't live close enough to take a class locally? The Sweetopia digital class downloads are for you!

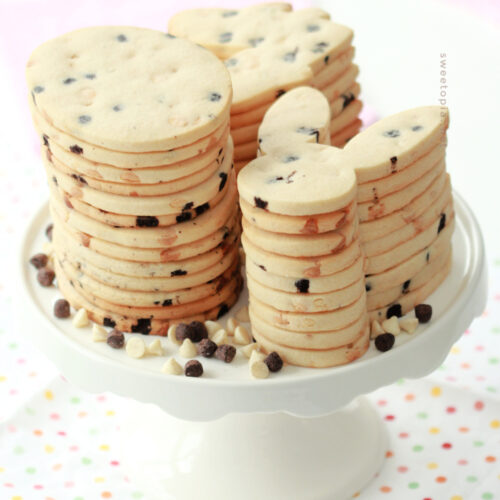
From My Shop

Footer
Post of the Month

Icing Puffiness and Floral Wedding Cookie Videos – Digital Download
Icing Puffiness
It can be frustrating to see a ...
Read More about Icing Puffiness and Floral Wedding Cookie Videos – Digital Download